Regular maintenance is the cornerstone of keeping your robot vacuum running at peak performance for years to come. While these automated cleaning devices are designed for convenience, they still require consistent care to maintain their suction power, navigation accuracy, and overall functionality. According to research from the Consumer Product Safety Commission, proper maintenance can extend the lifespan of small appliances by up to 50%, making your investment worthwhile. By implementing a structured maintenance routine, you’ll prevent costly repairs, ensure consistent cleaning results, and maximize your robot vacuum’s operational efficiency.
Daily Maintenance Habits
Establishing daily maintenance habits takes only a few minutes but yields significant benefits in your robot vacuum’s performance. These quick tasks prevent debris buildup and ensure your device is always ready for its next cleaning cycle.
Emptying the Dustbin After Each Use
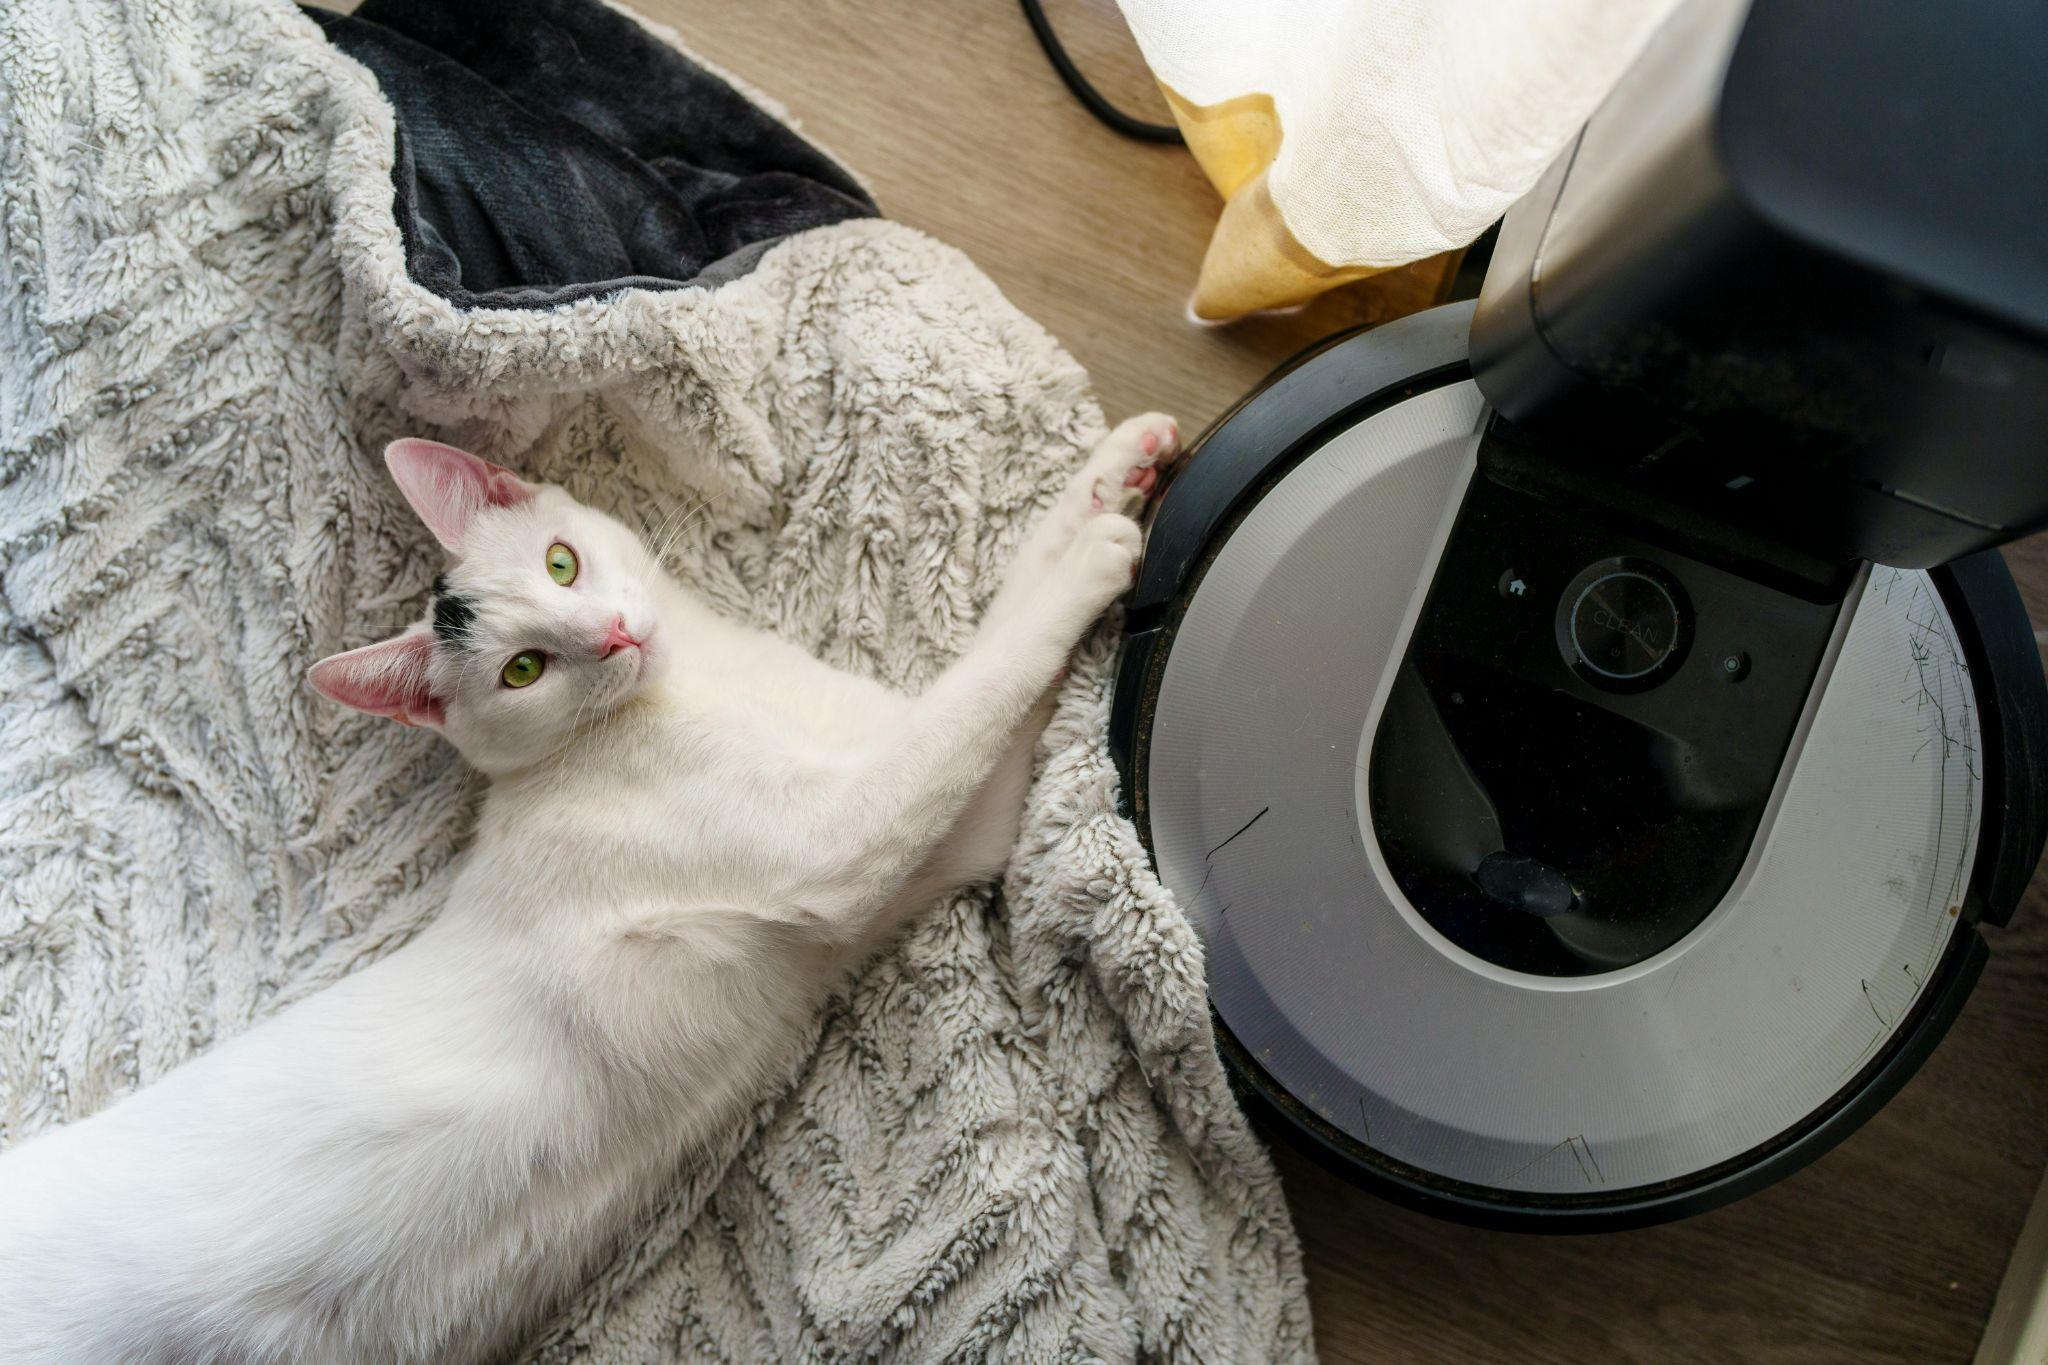
The dustbin is your robot vacuum’s first line of defense against dirt and debris, but when full, it becomes a significant performance bottleneck. A packed dustbin restricts airflow, causing suction power to drop by as much as 40-60%. This forces the motor to work harder, generating excess heat and accelerating wear on internal components.
Make it a habit to empty the dustbin after every cleaning session, regardless of how full it appears. Even partially filled bins can harbor fine particles that reduce efficiency. Simply remove the bin, dispose of contents into your trash, and tap it gently to dislodge any stubborn debris. For households with pets or high-traffic areas, consider emptying the bin mid-cycle during extended cleaning sessions.
Wiping Down the Exterior
Your robot vacuum’s exterior accumulates dust, fingerprints, and grime during operation. Use a microfiber cloth slightly dampened with water to wipe down the robot’s surface, paying special attention to the top panel and charging contacts. This simple step prevents dirt from migrating into internal components through ventilation gaps.
Avoid harsh chemicals, abrasive cleaners, or alcohol-based solutions that can damage the plastic finish, fade colors, or compromise protective coatings. Stick to plain water or manufacturer-approved cleaning solutions to maintain the device’s appearance and integrity.
Weekly Maintenance Tasks
Weekly maintenance digs deeper into your robot vacuum’s mechanical components, addressing areas where debris naturally accumulates during regular operation.
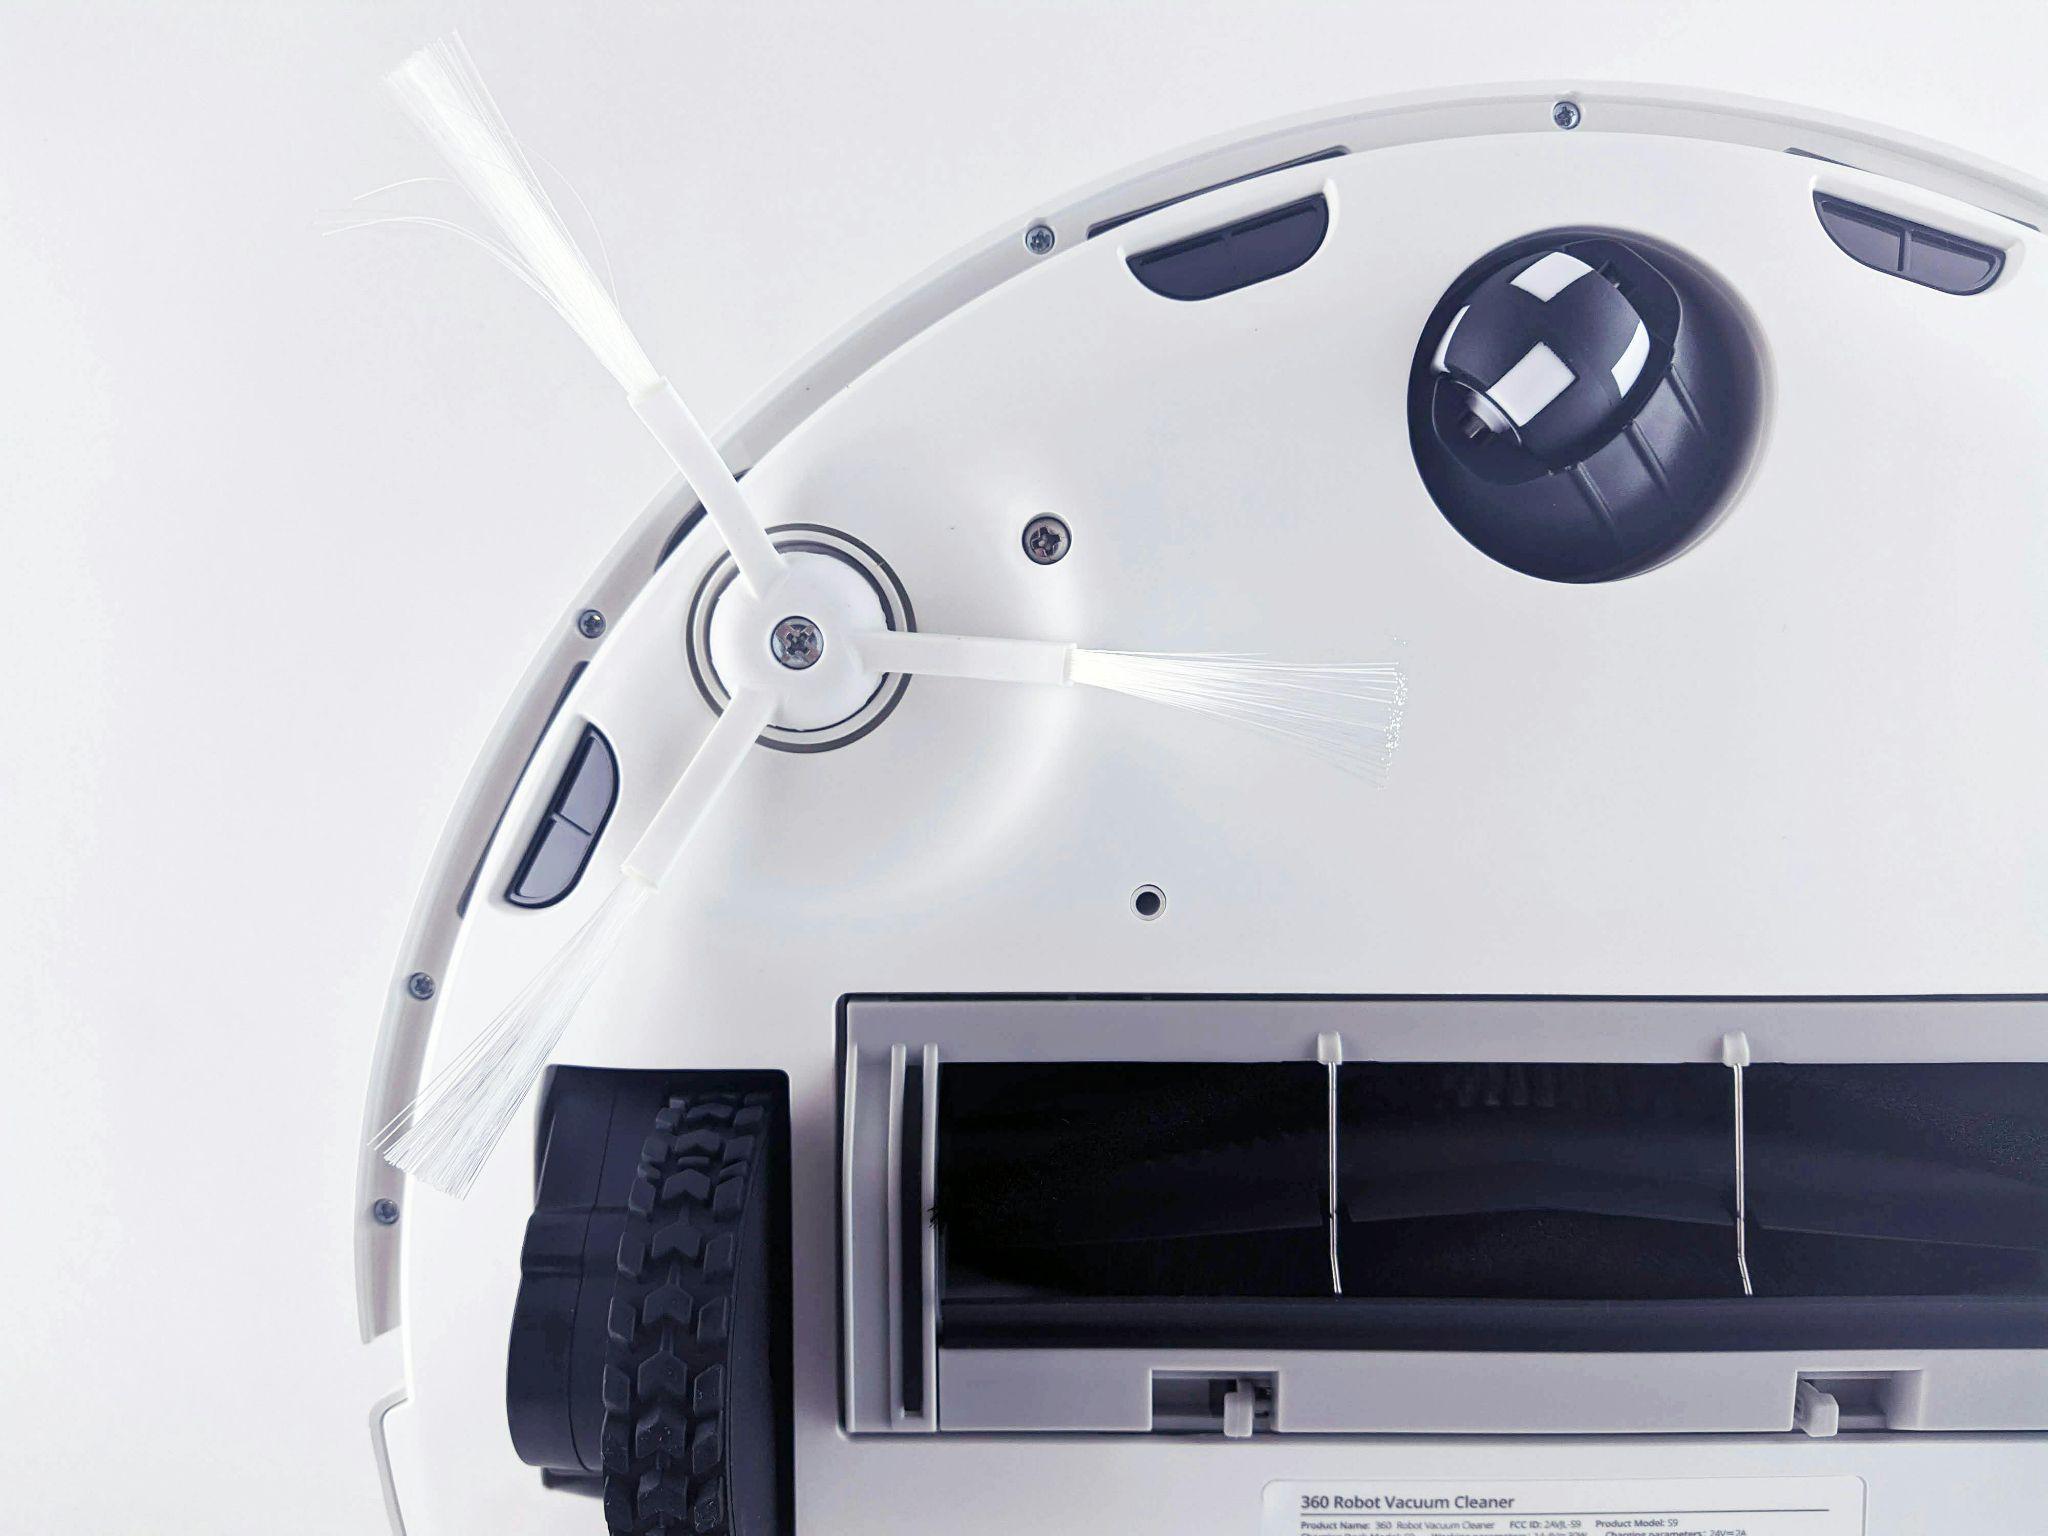
Cleaning Brushes and Rollers
Brushes and rollers are magnets for hair, string, and fiber that wrap tightly around their mechanisms. This buildup creates resistance, forcing motors to consume more power while delivering reduced cleaning performance. According to iRobot’s maintenance guidelines, tangled brushes can decrease cleaning efficiency by up to 70%.
Remove the main brush roller and side brushes according to your manufacturer’s instructions. Use the included cleaning tool, small scissors, or a seam ripper to carefully cut away tangled hair and fibers. Work from the center outward, rotating the brush to access all sides. Check the brush caps and bearings for debris, as these small components can cause squeaking or irregular rotation when clogged.
Inspecting and Cleaning the Wheels
The drive wheels and caster wheel enable your robot vacuum to navigate around furniture, climb thresholds, and maintain straight paths. Debris lodged in wheel assemblies causes erratic movement, increased battery consumption, and potential motor damage.
Flip your robot vacuum over and examine each wheel carefully. Remove visible hair, threads, or debris wrapped around axles. The front caster wheel typically collects the most buildup—pop it out if removable and clean the housing thoroughly. Test wheel rotation after cleaning; they should spin freely without resistance or wobbling.
Checking and Cleaning Sensors
Navigation sensors, cliff sensors, and dirt detection sensors form your robot vacuum’s sensory system. Dirty sensors cause navigation errors, missed spots, and potential falls down stairs. These precision components require gentle, regular cleaning to maintain accuracy.
Use a soft, dry microfiber cloth to gently wipe each sensor. Avoid applying pressure or using liquids, as moisture can damage sensitive electronics. Pay special attention to cliff sensors on the underside and wall-following sensors along the bumper. Clean the charging contacts on both the robot and docking station to ensure reliable charging.
Monthly Maintenance Recommendations

Monthly maintenance tasks address components that degrade gradually over time, requiring less frequent but more thorough attention.
Replacing or Washing Filters
HEPA filters and pre-filters trap fine particles, allergens, and dust mites, but they become saturated with continued use. Clogged filters reduce airflow by up to 50%, diminishing suction power and potentially causing motor overheating.
| Filter Type | Maintenance Frequency | Average Lifespan |
|---|---|---|
| Washable Filters | Rinse monthly | 6-12 months |
| HEPA Filters | Replace monthly | 2-3 months |
| Pre-filters | Clean weekly | 3-6 months |
For washable filters, rinse under cool running water until water runs clear, then air dry completely for 24 hours before reinstalling. Never operate your robot vacuum with damp filters. Replace disposable filters according to manufacturer recommendations or sooner if you notice reduced performance.
Inspecting Battery Health
The lithium-ion battery powers your robot vacuum and represents one of its most expensive components. Proper battery care extends its useful life from 1-2 years to 3-4 years or more.
Monitor charging behavior for warning signs: Does the battery charge fully? Does runtime seem shorter than normal? Does the robot return to dock prematurely? These symptoms indicate battery degradation. Avoid letting the battery completely discharge regularly, as deep discharges stress battery cells and reduce overall capacity. Keep the robot on its charging dock between uses to maintain optimal charge levels.
Seasonal Maintenance Considerations
Seasonal maintenance prepares your robot vacuum for changing conditions and ensures you’re benefiting from the latest technological improvements.
Checking for Software Updates
Manufacturers regularly release firmware updates that improve navigation algorithms, fix bugs, and sometimes add new features. These updates can dramatically enhance your robot’s performance without any hardware changes.
Check your robot vacuum’s companion app monthly for available updates. The process typically involves connecting the robot to Wi-Fi, downloading the update file, and allowing 10-15 minutes for installation. Never interrupt the update process, as this can corrupt software and render the device inoperable.
Storing the Robot Vacuum Properly
If you’re storing your robot vacuum during vacation or seasonal changes, proper storage prevents battery degradation and component damage. Store the unit in a cool, dry location away from direct sunlight and temperature extremes. Charge the battery to approximately 50% before storage—neither fully charged nor depleted.
Remove the dustbin and clean all components thoroughly before storage to prevent odors and bacterial growth. Store accessories separately in sealed bags to prevent dust accumulation.
Troubleshooting Common Issues
Even with diligent maintenance, robot vacuums occasionally experience performance issues. Recognizing and addressing these problems quickly prevents minor issues from becoming major failures.
Dealing with Reduced Suction Power
Weak suction usually indicates:
- Clogged filters requiring replacement
- Full dustbin restricting airflow
- Blockages in the suction pathway
- Tangled brushes creating resistance
- Worn seals allowing air leaks
Systematically check each potential cause, starting with the easiest fixes. Remove and inspect the dustbin, filter, and brushes. Look inside the suction port for lodged debris. If problems persist after cleaning all components, the motor may require professional service.
Addressing Navigation Problems
Navigation issues manifest as random patterns, missed areas, or boundary violations. Start by cleaning all sensors thoroughly with a dry cloth. Ensure your environment hasn’t changed significantly—new furniture, moved mirrors, or altered lighting can confuse navigation systems.
Check for software updates that might improve mapping algorithms. If your model supports it, delete existing maps and allow the robot to remap your space. Ensure virtual barriers or magnetic strips are properly positioned and functional.
Conclusion
Maintaining your robot vacuum doesn’t require extensive technical knowledge or significant time investment. By following this structured maintenance schedule—daily dustbin emptying, weekly brush cleaning, monthly filter replacements, and seasonal updates—you’ll ensure optimal performance and extend your device’s lifespan considerably. These simple habits prevent the majority of common problems, reduce energy consumption, and maintain the cleaning effectiveness that made you choose a robot vacuum in the first place. Invest a few minutes regularly in maintenance, and your robot vacuum will reward you with years of reliable, autonomous cleaning service.